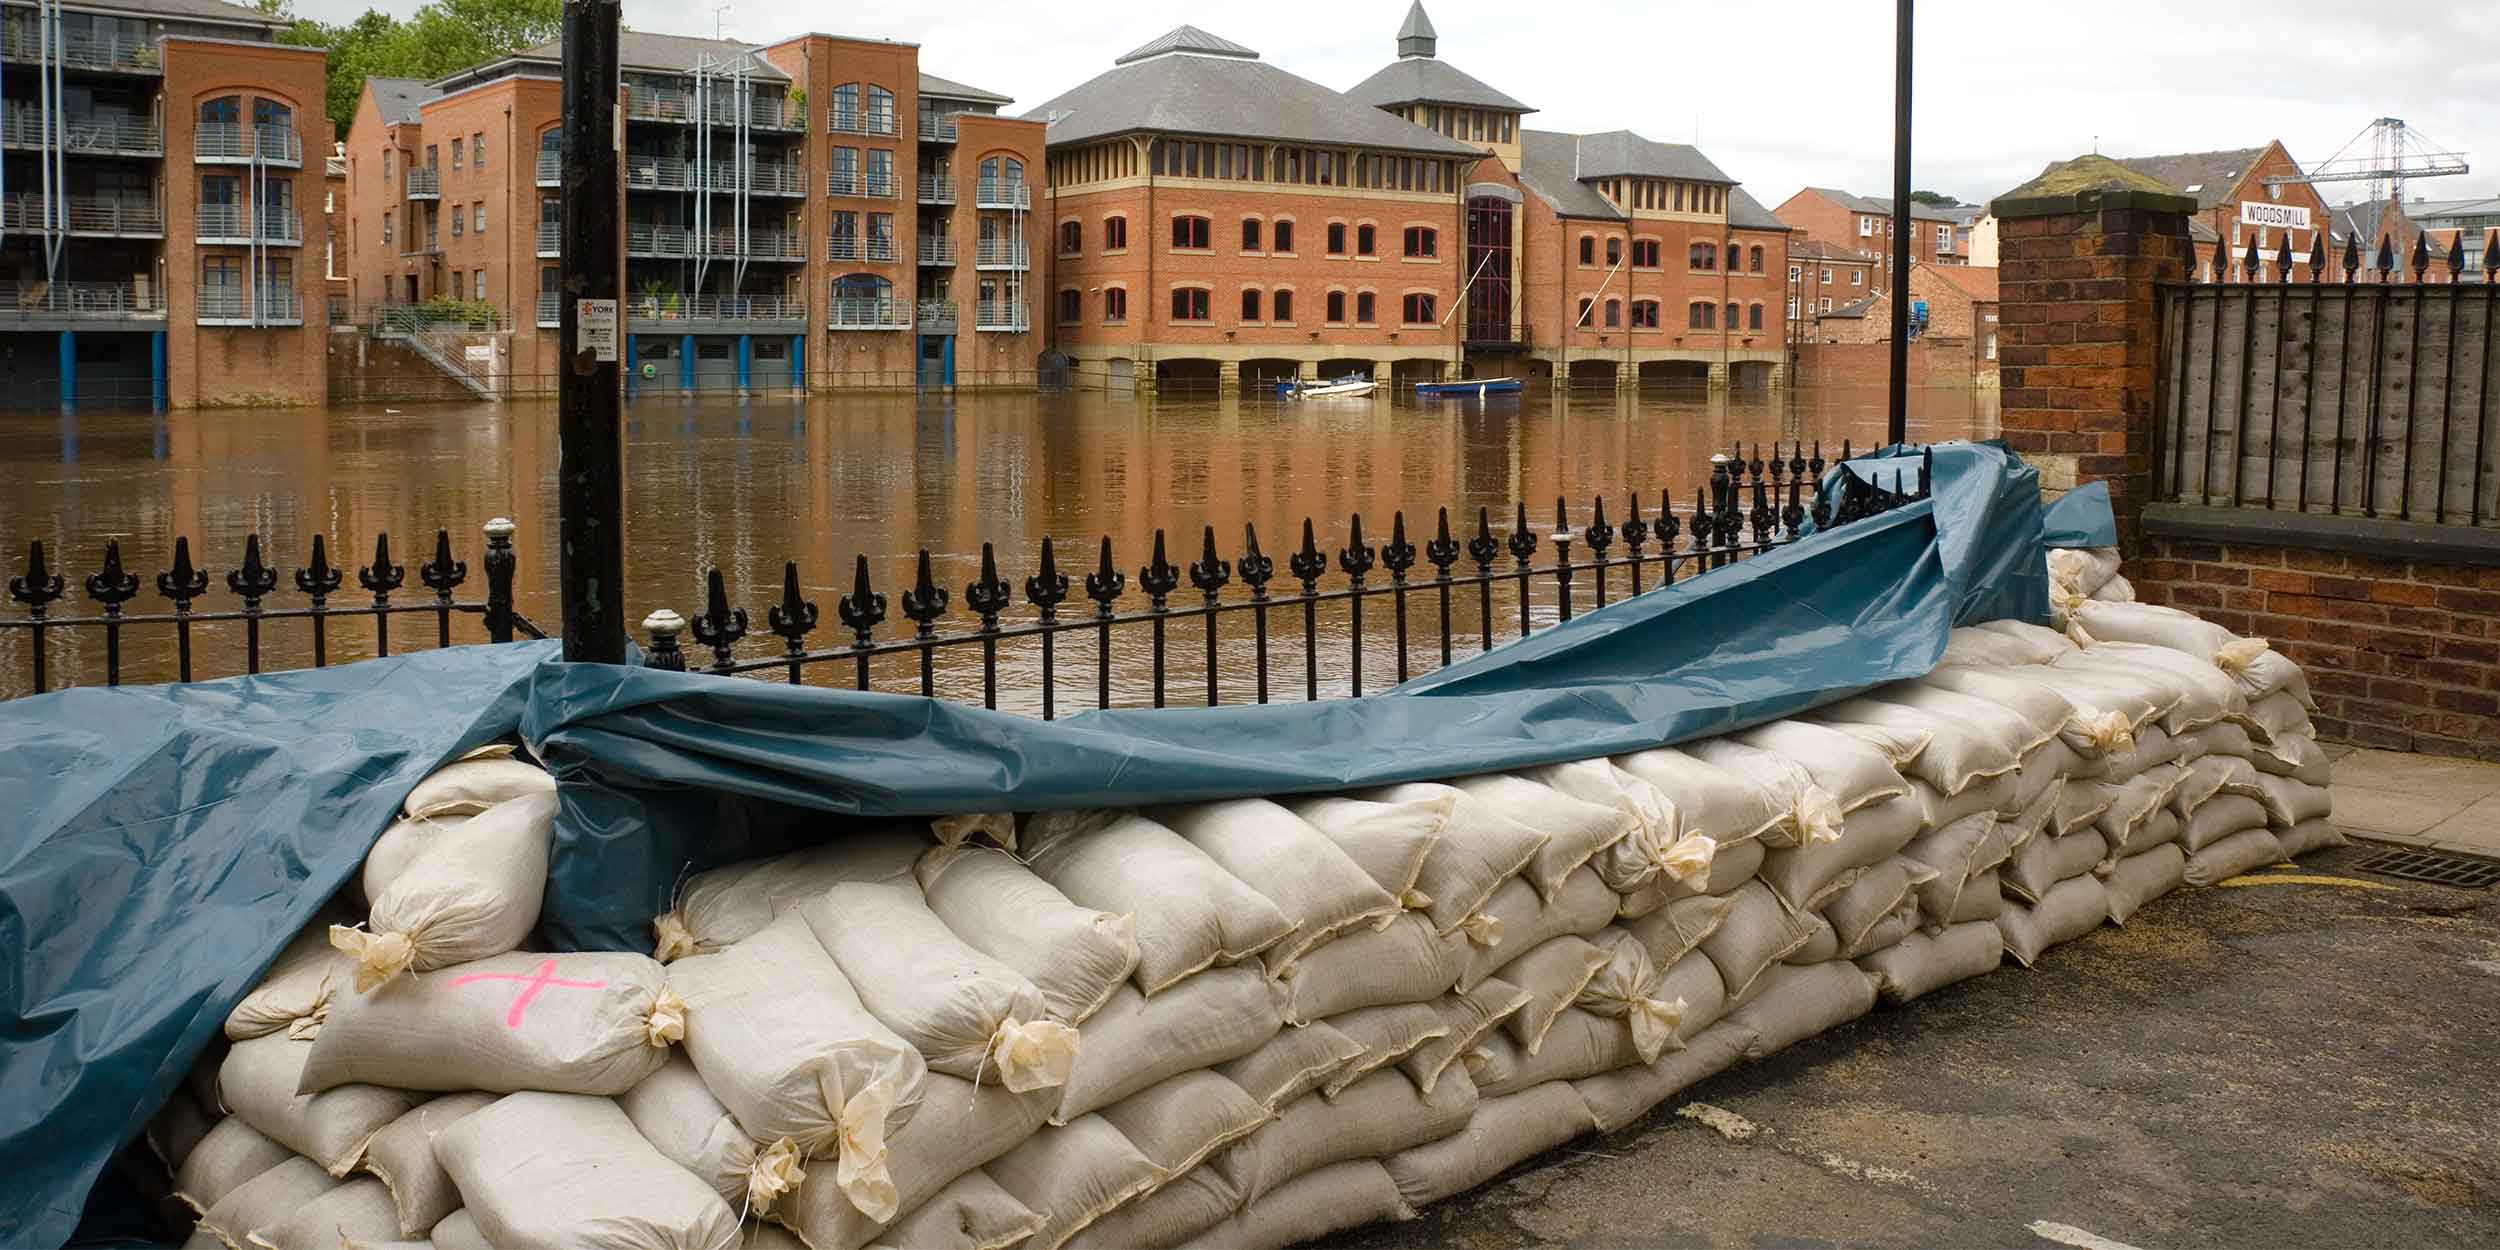
How to use sandbags to prevent flooding
Sandbags have been used as temporary flood barriers for centuries, but are they effective and how should they be used?
Some sand, a bag and a whole lot of manpower. We may live in a digital age, but when there’s a flood you can be sure to see sandbags. But why is such a basic design still a popular form of flood protection?
There are three reasons: they are inexpensive, simple to use and, if used properly, are effective at diverting flood water.
Due to their low cost and ease of use, nearly anyone armed with a shovel and the right materials can construct a temporary sandbag flood barrier.
“A sandbag structure does not guarantee a water-tight seal, but properly filled and constructed it can act as a barrier to divert moving water around, instead of through buildings,” explains Dr. Amar Rahman, Principal Risk Engineer, Global Practice Leader Natural Hazards and Climate Change Resilience at Zurich Insurance Group (Zurich).
Sandbag sacks are usually made of burlap (hessian) or woven polypropylene and typically measure around 35 cm (14 in.) by 66 cm (26 in.). Never use garbage bags (they are too slick to stack) and avoid animal feed sacks as they are too large to handle.
Building an effective sandbag wall is labor-intensive. It takes at least two people to fill a sandbag, then each 15-20 kg (33-44 lbs) bag needs to be placed in a structure. Six sandbags will protect a standard door opening, but to build a 1.2 meter (4 ft) high pyramid, 3 meters (10 ft) wide, would require about 80 bags weighing up to 1,600 kg (3,527 lbs)
It’s a lot of work, but it has an added intangible benefit. The construction process brings peopl e together and strengthens community spirit at a time when it’s needed most.
The ‘science’: how to fill a sandbag
- Filling sandbags requires two people wearing gloves, steel toecap footwear and, if the sand is dry, safety glasses.
- One person should place the empty bag between or slightly in front of widespread feet with knees slightly flexed. Fold the throat of the bag to form a collar to enable the other person to empty a rounded shovel of sand.
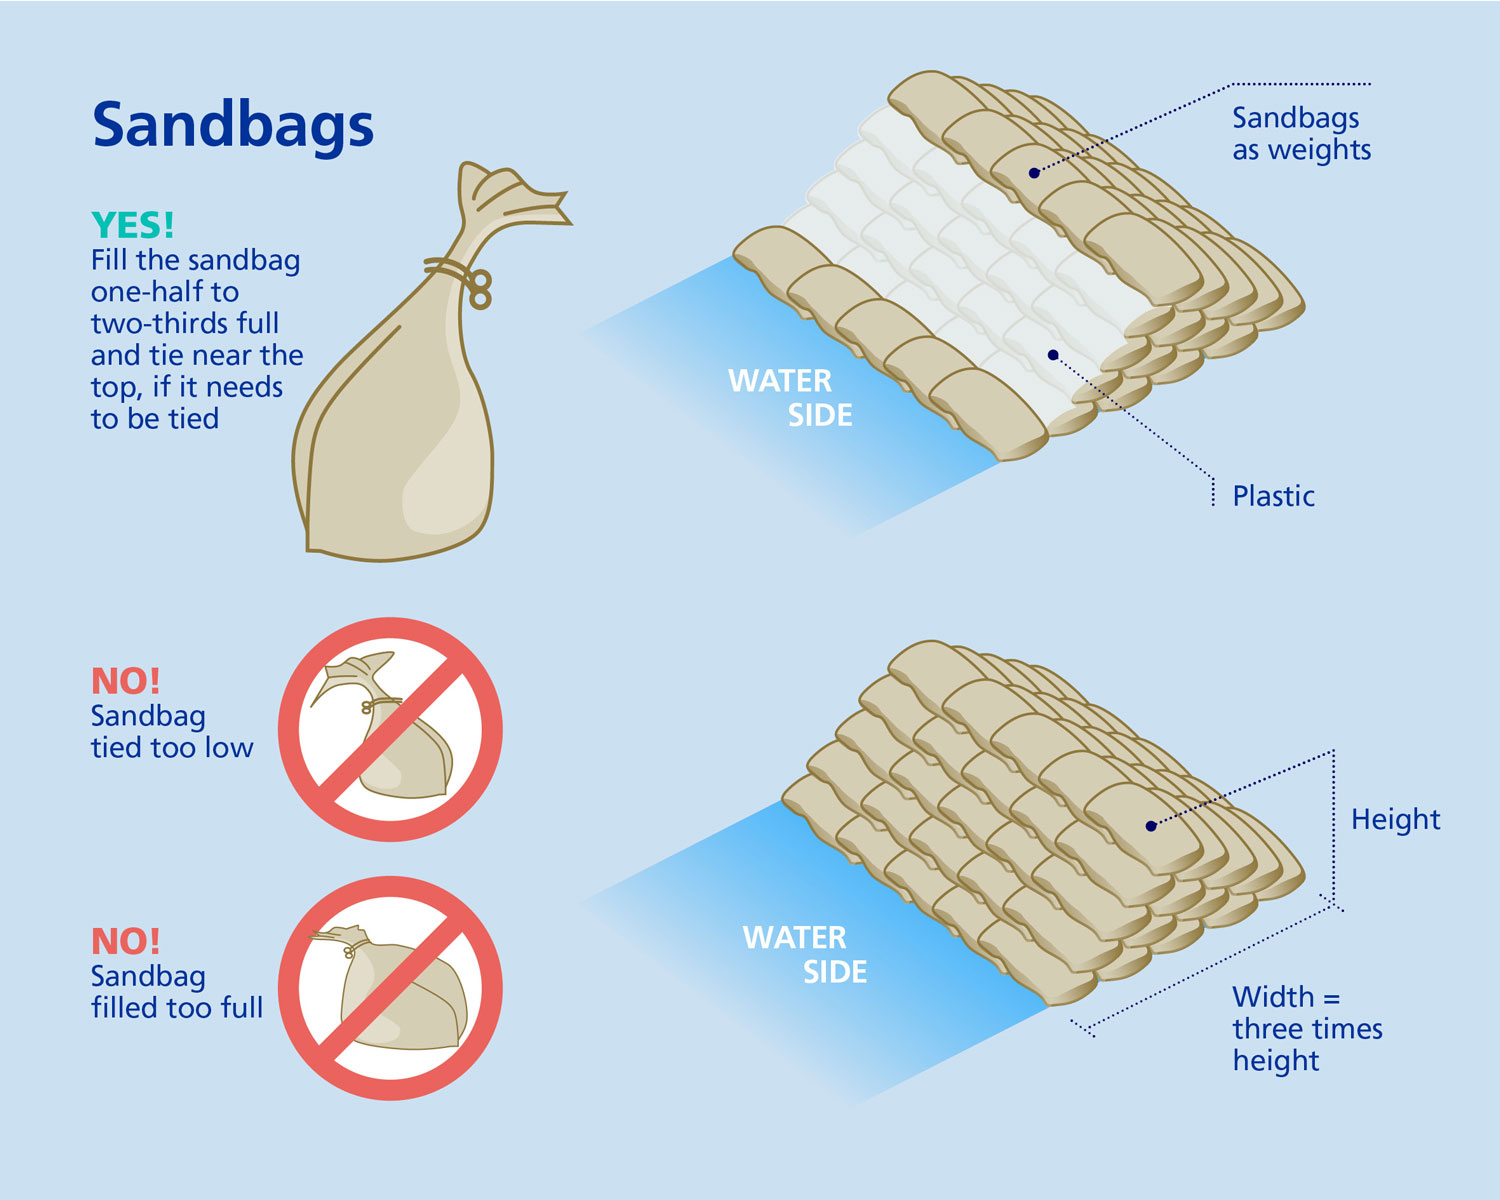
- Don’t overfill the bag. This will make it difficult to carry, compact and form a sealed structure. Bags should be filled to one-half to two-thirds of their capacity.
- Untied sandbags are easier to stack. Fold over the top flap of the bag, leaving room for the sand to move around and seal the wall. Only tie bags if you plan to transport them, and then tie close to the top of the bag to allow for sifting of the sand.
The ‘science’: how to build a sandbag wall
- Clear debris from the area where you want to build the wall. Don’t build on uneven ground as sandbags need to settle flat.
- Place the sandbags lengthways/parallel to the direction of the water flow. Ensure the open end of the bag is folded under the filled portion of the bag.
- Flatten down each row of bags with your foot to eliminate gaps, create a tight seal and support the structure of the wall. Lay the rows like brickwork with each bag overlapping the one below by half.
- Build the wall in a pyramid shape when there are four or more rows – it should be three times wider than it is tall. For added protection, seal the wall with plastic sheeting on the ‘wet’ side secured with a row of sandbags across the top and along the bottom edge.